If you want to check out some results form this scanner, all the images in this gallery are scanned on this device.
http://www.pbase.com/landscapedecor/limited_edition/
Fell free to comment /vote while you are there! Thanks in advance!
NOTE: All the images have HUGE versions which will let you have a better inspection.
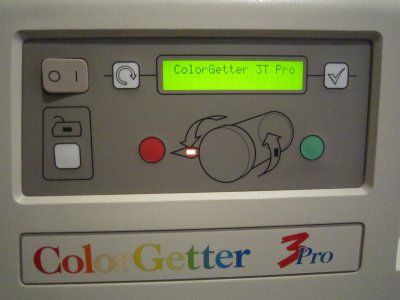
ColorGetter Control Panel - Simplicity!
Required materials...
Scanner Wipes
Film Cleaner
Scanner Oil
Scanner Tape
Compressed Air
Syringe (Drawing up needle optional)
These scanners are no longer in production. In fact they have been out of production for 10 years or so.
They are however so over engineered, if you have one you are likely to have it for quite some time.
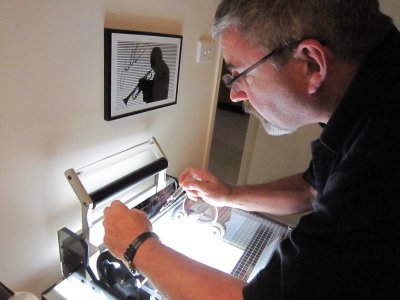
I will attempt to give you as many pictures as I can to make my job easier.
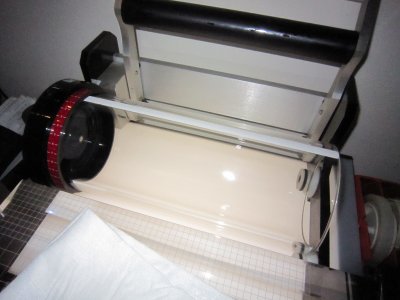
The story starts with the scanner drum placed in the mounting station.
The enemy of any good scan is dust and fibre.
It is imperative that you work in as clean a space as possible. My area has ceramic tiles and is vacuumed regularly.
Also it is a huge help to have micron filtered compressed air near your mounting station to allow easy cleaning of transparencies as you work.
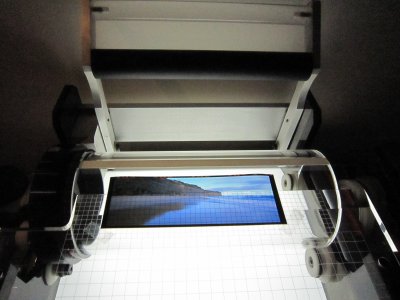
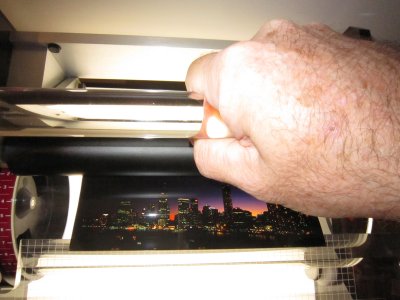
The first step is to apply your transparency to the drum.
You need scanner tape. Scanner tape is different to normal tape in that it still sticks to the drum in the presence of the mounting oil.
Use the image, not the film edge to get square. The mounting station has a fine grid to assist you to get the image square.
tape both trailing edges and leave about 25mm hang over the front edge.
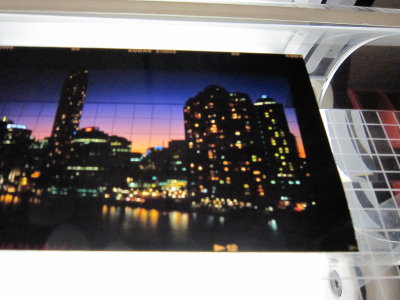
This image shows a closeup of the taped rear edge.
Next - advance the transparency toward the drum and tape the leading edge to the drum.
Be careful to stay clear of the white strip on the drum as this is used to calibrate the scanner.
NOTE: ALWAYS fold over the end 3mm of the tape to allow for easy removal.
You do not want to be picking at the drum to remove the tape and risk scratching it.
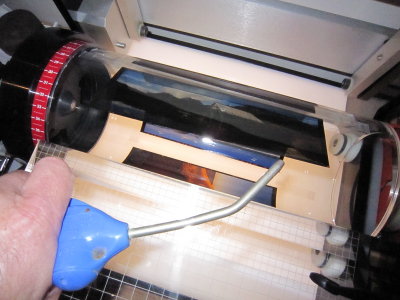
When taped securely, remove the trailing edge corner tapes and rotate the drum away from you and slide the table toward you.
This now gives you access to apply the mounting oil.
NOTE: Do not use any oil. Get mounting oil from your Graphic Arts supplier.
Again, use compressed air to remove any dust or fibre.
Always use care when blowing the assembly as you do not want to touch the drum with the nozzle and scratch it.
You are now ready to apply the oil.
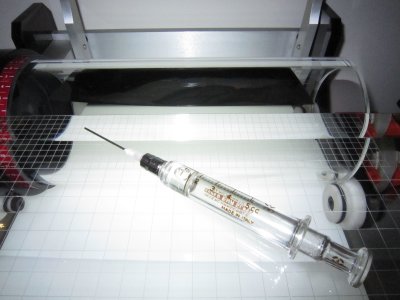
I use a glass syringe with a drawing up needle to apply the oil as I have found this to work well.

So - Why do we use oil?
If you have ever tried to scan film without oil, its possible, but you need a really good anti-newton spray.
The technique of applying anti-newton spray, is to spray into the air and pass the transparency through the mist.
In my view - its hit and miss and oil mounting provides more success.
Apply the oil in a thin bead along the join between the taped transparency and the drum.
If you apply too much, its messy and a waste.
If you apply to little, you will get trailing edge bubbles and its a pain to redo.
Before rolling the transparency onto the drum, apply tape along the trainling edge.
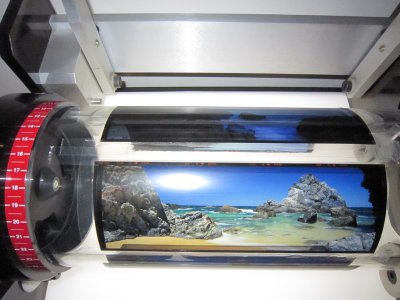
Oiled transparency ready to be rolled onto drum.
Roll the drum forward under the roller to squeegee excess oil out and under trailing edge tape.
Clean excess oil using Film Cleaner and apply tape to both sides completely sealing the edges.
After filling the drum, you can use film cleaner to do a final clean up and compressed air to do the final clean before placing the drum in the scanner.
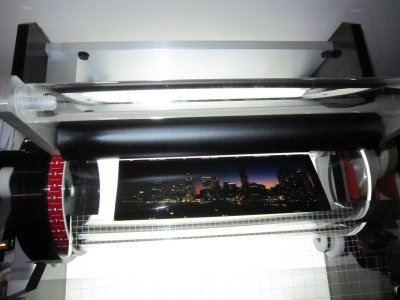
Here is the completed drum ready to go.
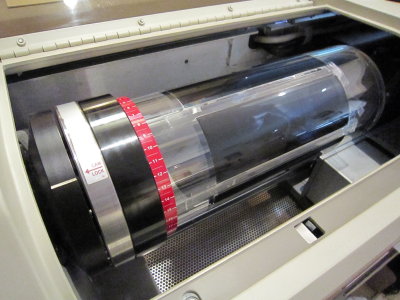
Close the lid, spin the drum up and away you go!
If you found the information in this tutorial helpful, feel free to comment.
If you need clarification or specific info re consumables, please also comment and I will reply ASAP.